Set each pole so your elbow is at about a right angle with the tip on the ground, put your hand up through the strap from below, and plant each pole next to the opposite foot. Shorten them for long climbs and lengthen them for descents, where you plant them slightly ahead to take braking load off your knees. Studies of downhill walking found poles reduce knee forces and next-day muscle soreness.
Why poles matter most on the way down
Most people think of trekking poles as help for the climb. The evidence is strongest for the descent. Walking downhill, your quads brake every step, and that braking work, called eccentric work, is what leaves legs sore and knees aching on the last days of a trek. In laboratory studies of downhill walking, poles reduced the forces at the knee joint and the work of the leg muscles (Schwameder et al., 1999), and they did the same with a loaded pack (Bohne and Abendroth-Smith, 2007).
On a real mountain the effect showed up in the legs the next days: walkers who used poles on a mountain ascent and descent had less muscle damage and soreness, and their leg strength recovered faster, than walkers who went without (Howatson et al., 2011). On a multi-day trek, faster recovery is the point: you walk again tomorrow.
Setting them up: length and straps
Length. Stand on flat ground, tip on the floor next to your foot. Adjust until your elbow is at about a right angle and your forearm is level. That is your flat-ground length.
Straps. Put your hand up through the strap from below, then grip the handle over the strap. Now you can push down through the strap with a relaxed hand instead of squeezing the grip all day. On ground where a fall is possible, some guides prefer hands out of the straps so a stuck pole cannot twist your wrist; follow your guide.
On the flat and on the climb
Walk normally and let the poles swing with your arms, each pole planting next to the opposite foot: left foot, right pole. Keep the tips behind or beside you, pushing back, not out in front. On a long climb, shorten both poles a few centimetres so your hands stay below your shoulders, and push down and back through the straps. Keep the steps short; the poles add drive, not stride length.
On the descent: where they earn their weight
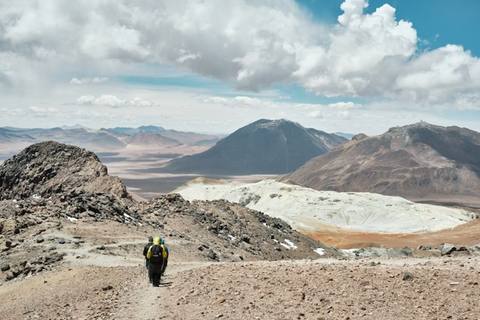
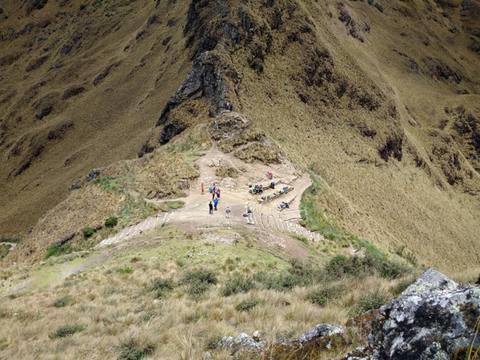
Lengthen the poles a few centimetres before a long descent. Plant them slightly ahead of you, so they take some of your weight before your front foot lands. On steep or loose ground, plant both poles together, then step down between them. Keep your weight over your feet with a slight forward lean from the ankles; leaning back puts the braking on your joints instead of your muscles. Short steps, soft knees, steady pace.
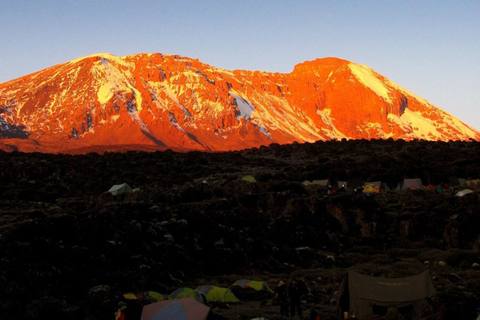
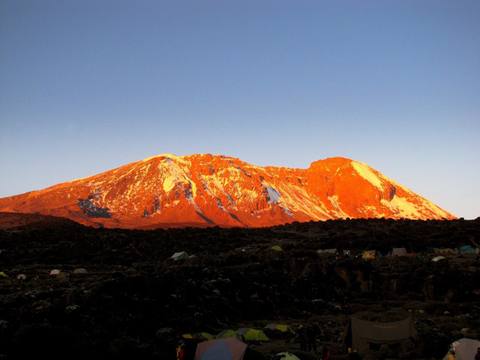
This is where long treks are decided. Summit night on Kilimanjaro ends 2,827 m (9,275 ft) below Uhuru Peak, and the next morning adds about 1,430 m (4,700 ft) more; the how hard is Kilimanjaro guide breaks that day down hour by hour.
When to put them away
Stow your poles on hands-on scrambling, ladders, exposed steps and anywhere your guide asks. A pole jammed in a crack on steep ground can pull you off balance. Carry them on the pack where they will not catch on rock or other people.
Poles do not replace trained legs
Poles take some of the load, not all of it. The legs still brake every step of a long descent, and the protection against the soreness that follows comes from training it beforehand (LaStayo et al., 2003). Train the descent with stair descents and slow step-downs, and carry your poles on every long training day so the technique is automatic before you go. The eccentric training guide for trekkers shows the sessions, and the muscular endurance exercises give the sets and reps.
Descent work built into the plan
Train to Mountain builds the descent into every trek plan: stair and downhill sessions with the pack you will carry, programmed from the middle of the plan and sized to your trek's biggest descents, then recalibrated every Sunday from what your watch recorded. Trek plans open in the app on 5 November; join the waiting list or start with Trek Check.
The takeaway
Set the length, use the straps, plant opposite foot and pole, lengthen for the way down and plant ahead. Poles make the descent easier on your knees and the next morning easier on your legs, but they work best on legs that have trained the descent too.
Common questions
How do you use trekking poles properly?
Set the length so your elbow is at about a right angle with the tip on the ground, put your hand up through the strap from below so you can push down through it, and plant each pole next to the opposite foot as you walk. Shorten the poles a little for long climbs and lengthen them for long descents, where you plant them slightly ahead to take some of the braking load off your knees.
Do trekking poles really help your knees?
Yes, on the way down. Laboratory studies of downhill walking found that hiking poles reduced the forces at the knee joint and the work the leg muscles had to do (Schwameder et al., 1999), including when carrying a pack (Bohne and Abendroth-Smith, 2007). A field study on a real mountain found less muscle damage and soreness, and a faster recovery of leg strength, in walkers who used poles (Howatson et al., 2011).
What length should trekking poles be?
On flat ground, about the length that puts your elbow at a right angle with the tip on the ground and your forearm level. Shorten them by a few centimetres for long climbs so you are not pushing your hands above your shoulders, and lengthen them for long descents so you can plant them ahead without stooping.
Should you use one or two trekking poles?
Two, for a trek or a mountain descent. Two poles spread the load evenly and keep your stride balanced; one pole helps balance but does much less for your knees on a long way down.
When should you not use trekking poles?
Stow them where you need your hands: hands-on scrambling, ladders, exposed steps and anywhere your guide asks you to. On steep ground with a drop, a pole stuck in a crack can pull you off balance. On an easy flat path they are optional.
Do I still need to train my legs if I use poles?
Yes. Poles take some of the load, not all of it, and they cannot do the braking for you on a 2,000 m descent. Train the descent with stair descents and slow step-downs, and carry your poles on your long training days so the technique is automatic before the trek.